
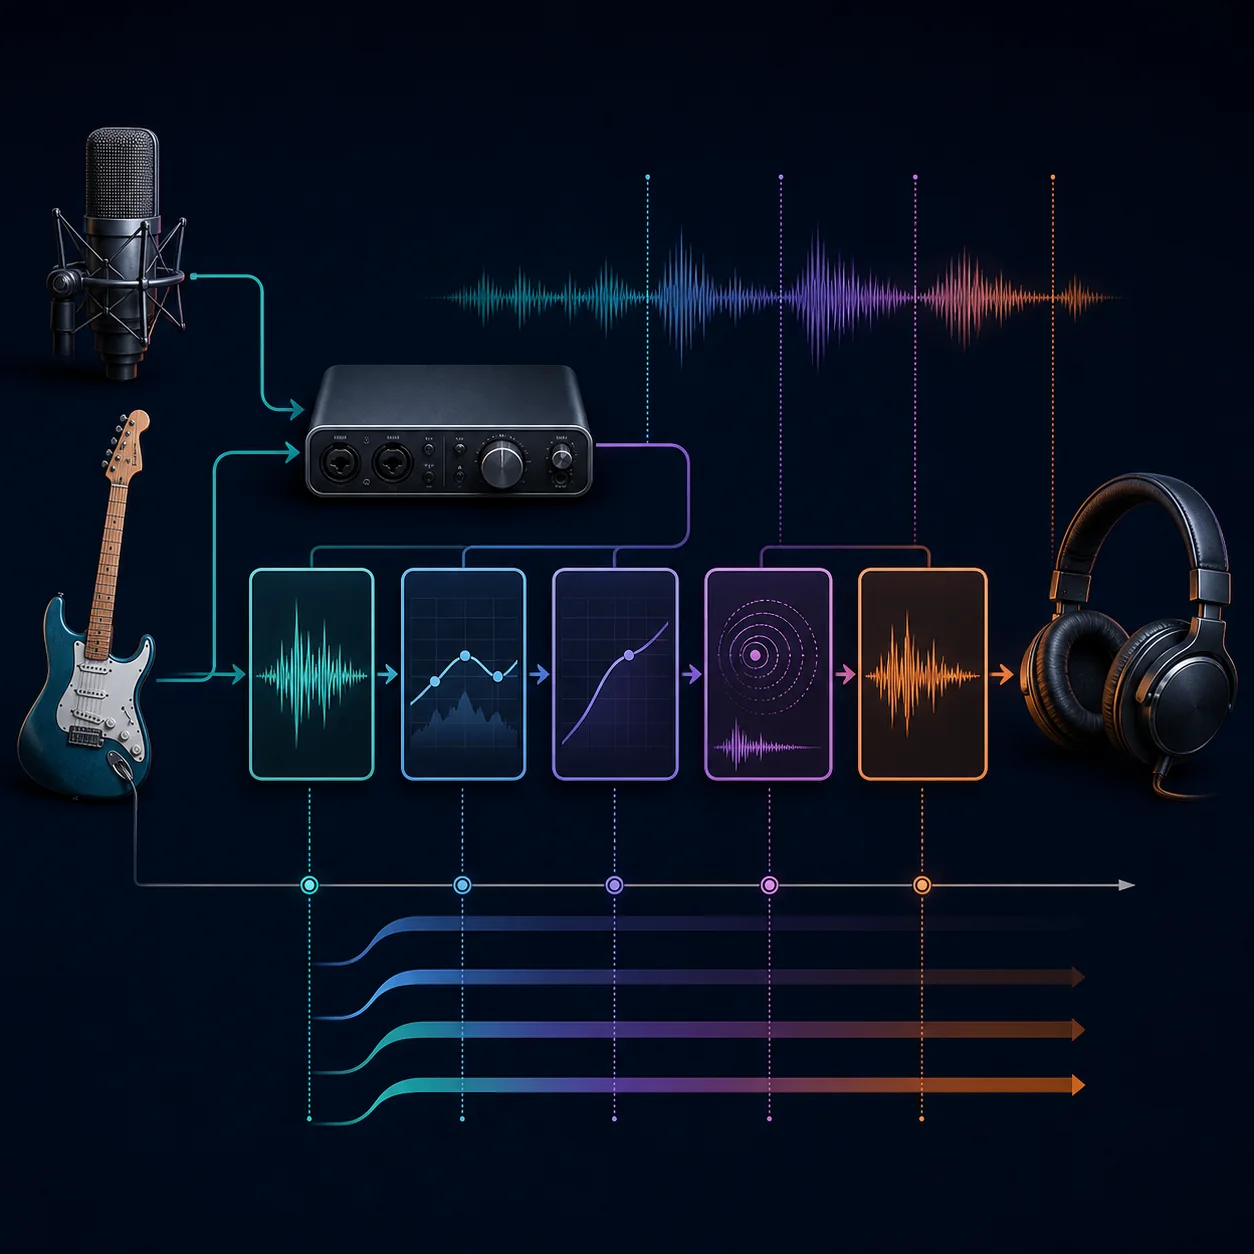
In Ableton Live, start with the manufacturer driver or Core Audio, match the sample rate, use 64 or 128 samples for a light recording session, turn on Reduced Latency When Monitoring when it fits the session, and bypass look-ahead or oversampling plugins while tracking. If you still hear delay, compare direct monitoring with the DAW path and measure both before changing more settings.
Useful when the computer and project are stable, but it leaves less CPU headroom.
A balanced choice for vocals, guitar or MIDI monitoring in a light session.
Better for heavier projects when live monitoring delay is acceptable.
Stable for large mixes, but normally too slow for playing through software effects.
What kind of Ableton latency are you hearing?
First decide whether the delay affects live input, MIDI notes, playback, or only one track. A vocal that arrives late in headphones points to a monitoring path; a MIDI keyboard that feels slow points to the instrument, driver or buffer; a project that drifts or becomes late after plugins points to delay compensation and processing. Do not use a Bluetooth result to judge an interface connected by USB.
Play the same short phrase through a clean audio track, then monitor one input with the same headphones. Compare direct hardware monitoring, if your interface provides it, with monitoring through Ableton. The audio latency guide explains playback versus round-trip delay; this page narrows that diagnosis to Ableton's signal path.
| Symptom | Most likely area | First check |
|---|---|---|
| Every monitored input is late | Driver, buffer or output path | Audio preferences, sample rate and wired output |
| Only one track is late | Plugin delay or track routing | Bypass the track chain and inspect plugin latency |
| MIDI notes feel late | Buffer, instrument or MIDI path | Test a simple instrument at 64 or 128 samples |
| Playback is late after heavy effects | Delay compensation or CPU load | Use a lighter monitoring chain and compare again |
Set the Ableton audio driver and buffer first
Open Ableton's Audio preferences and choose the interface manufacturer's ASIO driver on Windows when one is available. On macOS, Core Audio is the normal starting point. Avoid judging latency through a generic or shared driver while troubleshooting a recording setup. Confirm that the input and output device are the ones you are actually wearing or playing through.
Match the project and interface sample rate before comparing numbers. A smaller buffer reduces waiting time but gives the computer less time to finish each block. Start at 128 samples, try 64 only when the session is light and stable, and move up when clicks, dropouts or CPU overload appear. The audio interface latency guide covers the hardware and driver side in more detail.
| Ableton buffer | Good use | Trade-off |
|---|---|---|
| 64 samples | Simple live recording | Lowest delay, highest CPU pressure |
| 128 samples | Most tracking sessions | Balanced starting point |
| 256–512 samples | Editing or moderate mixing | More stable, more monitoring delay |
| 1024 samples | Large mixes or offline work | Maximum headroom, poor for live playing |
Use Reduced Latency When Monitoring correctly
Ableton's Reduced Latency When Monitoring option can shorten the monitored path for tracks that are being recorded or monitored, but it is not a universal zero-latency switch. The result depends on the track, routing and plugins in the session. Turn it on for a controlled comparison, then listen for a change in timing and for any difference in how effects behave.
If you need to hear an amp simulator, pitch correction or another live effect, software monitoring is unavoidable. Keep that chain simple while recording. If your interface offers direct monitoring, compare it with the Ableton path instead of layering both routes; hearing the same input twice usually sounds like an echo and can be mistaken for latency.
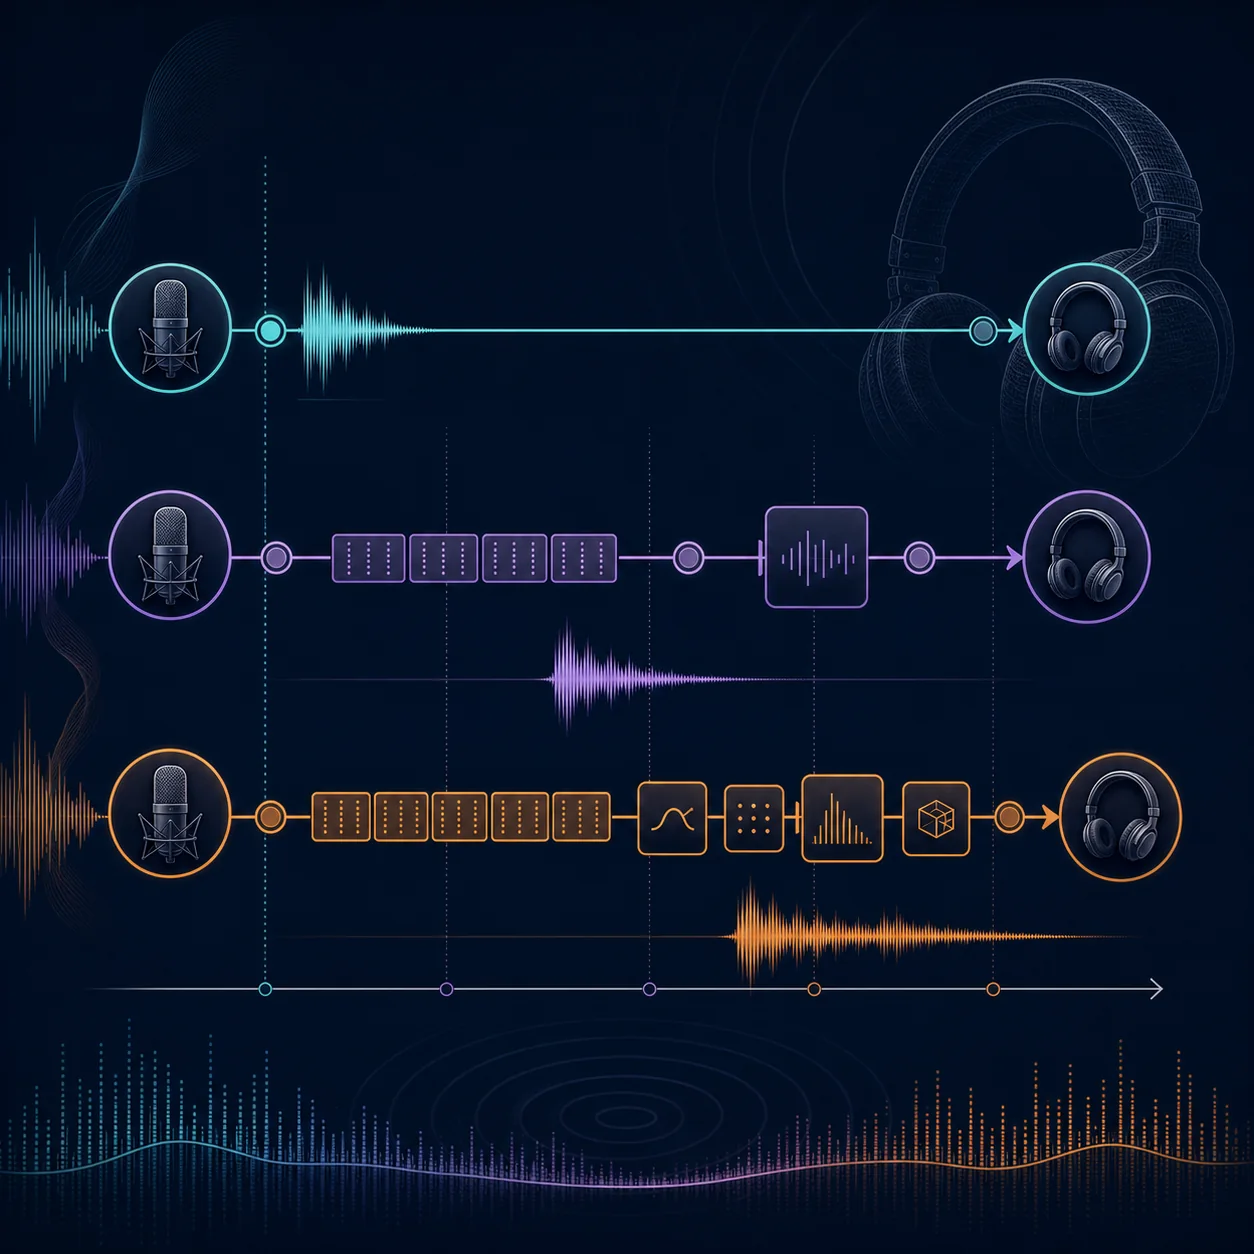
- Mute the duplicate route
Use either direct monitoring or Ableton monitoring while testing, not both at once.
- Use the lightest live chain
Temporarily bypass look-ahead, linear-phase, convolution and oversampling effects.
- Compare the same phrase
Record one short take before and after the change so the monitoring route stays comparable.
Find plugin latency and track delay compensation
A small buffer cannot cancel a plugin that deliberately looks ahead. Limiters, linear-phase EQ, convolution reverbs, oversampling modes and some mastering processors can add plugin delay even when the audio driver is configured correctly. If the delay appears only in one project or one track, bypass the chain from the end toward the input and listen after each change.
Ableton's delay compensation keeps tracks aligned for playback, but a compensated mix can still feel late while you monitor a live input. Use Reduced Latency When Monitoring for a controlled test, freeze or bypass heavy tracks while recording, and re-enable the full chain for mixing. Do not delete plugins or turn off compensation permanently just to make one monitoring take feel faster.
- Check the master and return tracks
A look-ahead limiter or convolution effect on the master can affect every monitored input.
- Bypass one processor at a time
Keep the interface, sample rate and buffer fixed so the cause is visible.
- Freeze or simplify while tracking
Use a light cue mix for recording, then restore the full processing chain for editing or mixing.
Fix microphone, guitar and MIDI latency in Ableton
For a microphone or guitar, confirm that the input is monitored only once and that the headphones are connected to the interface or output device selected in Ableton. If the input is clean through direct monitoring but late through software monitoring, the delay is in the DAW path rather than the microphone itself. If both paths are late, test the interface driver, USB connection and output device.
MIDI latency can come from the audio buffer, the instrument plugin, a wireless controller or a long chain of effects. Test a simple built-in instrument, then add the original instrument and effects one at a time. For a reliable baseline, use the site's Mic Latency Test for the physical round trip, then confirm the Ableton project with the same interface and headphones.
Compare direct monitoring, the track monitor mode and the interface's own mixer before changing the global buffer.
Use a simple instrument as a control; the original device or plugin may be adding processing delay.
Return to 128 or 256 samples. A stable take with slightly more delay is better than clicks and dropped blocks.
Measure the Ableton latency fix instead of trusting one take
Keep a short repeatable test project with the same interface, sample rate, headphones, input and monitoring route. Record a few taps or words before changing anything, note the buffer and the active plugins, then repeat after each meaningful change. If the average improves but jitter, clicks or dropouts increase, the setting is not a reliable fix.
Use the homepage Audio Latency Test as a practical browser baseline, then compare it with the values Ableton reports in Audio preferences and with a real monitored take. A browser estimate cannot certify a studio round-trip measurement, but it can reveal whether the physical output path changed. For driver spikes or crackling under load, continue with the High DPC Latency guide rather than lowering the buffer again.
- Save the baseline
Write down driver, sample rate, buffer, monitoring mode, output device and active high-latency plugins.
- Change one variable
Retest after the driver, buffer, monitoring option or plugin chain changes; do not change all four together.
- Check stability
Keep the setting only when the original session plays without clicks, drift, doubled monitoring or CPU overload.
Measure the path before and after the Ableton change
Use the browser test for a quick physical-output comparison, then confirm the result inside the same Ableton session and monitoring route.
Ableton latency FAQ
How do I reduce latency in Ableton?
Choose the correct interface driver, match the sample rate, start at 128 samples, try 64 samples only when the session is stable, simplify the live plugin chain and compare direct monitoring with Ableton monitoring. Change one setting at a time and keep the lowest stable result.
What does Reduced Latency When Monitoring do in Ableton?
It can reduce the processing path used for monitored tracks, especially when delay compensation from other tracks would make live input feel late. It is a monitoring aid, not a promise of zero latency; check the same track and plugin chain before and after enabling it.
Is 128 samples good for Ableton recording?
It is a practical starting point for many recording sessions. A light, stable computer may handle 64 samples, while a plugin-heavy project may need 256 samples or more. Raise the buffer if you hear clicks, dropouts or CPU overload.
Why is Ableton latency high with plugins?
Look-ahead limiters, linear-phase processors, convolution effects, oversampling and other heavy devices can add delay or CPU load. Bypass the master, return and track chains one at a time, then freeze or simplify the live monitoring path while recording.
How can I see plugin latency in Ableton?
Use Ableton's device and track information together with the reported overall latency in Audio preferences. Compare a clean control track with the original chain, and use the official Ableton delay-compensation guidance when a processor changes timing.
Why is MIDI latency still present at 64 samples?
The buffer is only one part of the path. The MIDI controller, wireless link, instrument plugin, plugin delay compensation, output device and monitoring route can add time. Test a simple instrument and wired output before blaming the global Ableton buffer.
Official Ableton references used for this guide
- Ableton: How to reduce latencyDriver, buffer and monitoring guidance from Ableton Support.
- Ableton: Reduced Latency When MonitoringOfficial explanation of the monitoring option and its limits.
- Ableton: Delay CompensationHow plugin and track delay compensation affects timing.